Materials needed: Two leashes (your color of choosing) a needle and thread, self adhesive hook and loop (aka Velcro)
Total Time: 10 minutes (depending on sewing skills!)
To start, take a little trip to your local dollar store. In the pet section they have every color of leash you could possible get. For my car I got yellow/black because I'm anal like that. You will need two leashes, one for each seat.
Next, get some self adhesive hook and loop tape, some dollar stores will carry it, if not you can purchase some at Wally world in the sewing section.
You will need to determine where you want the pull to end on your seat-back. For me, I held the leash, handle side toward the bottom, up to the back of the seat, moved it up a half an inch, and then cut off the "lead end" where the leash met the bottom of the headrest. You can discard the metal lead end (unless you can come up with another creative way of using it!)
Next, I took a lighter (knowing that this was a nylon leash) and lightly melted the cut end of the leash this way it doesn't fray.
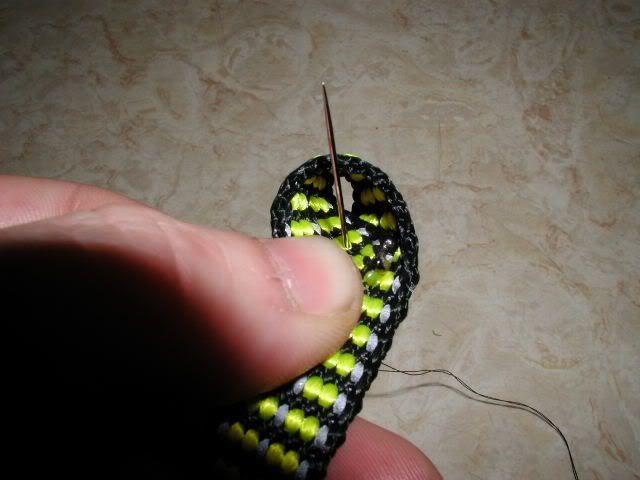
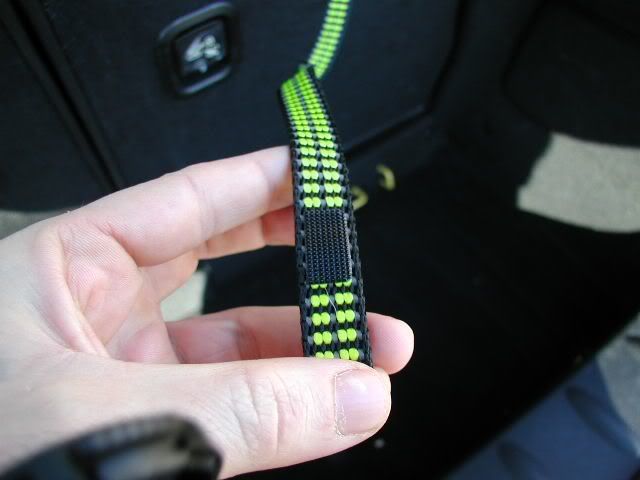
For the next step, take the cut end of the leash and make a loop as pictured. Be sure that you leave enough room so that the headrest post will fit in the loop that you have created. The leashes do have a little stretch to them so it's ok if the hole looks a little smaller than the headrest post. I made mine real snug.

This is where basic sewing skills come into play. Stitch the end of the leash until you are comfortable knowing that it will hold.
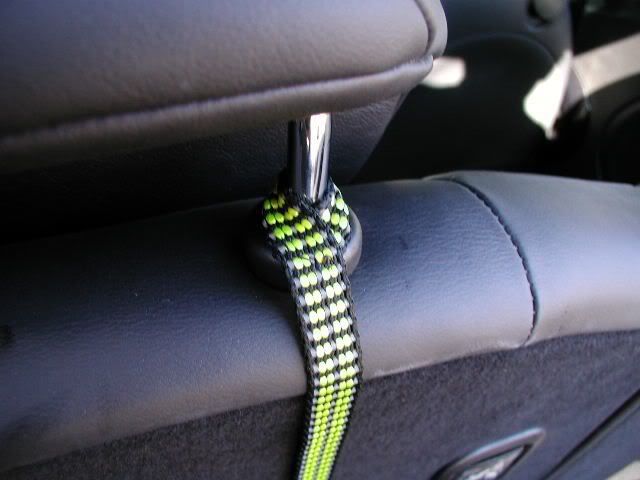
Next, remove the headrest and slide the leash over the post of the headrest. (left or right post is completely up to you) with the "wide side" of the hole facing down.
Final step, Cut the "hook" side of the hook and loop in half.
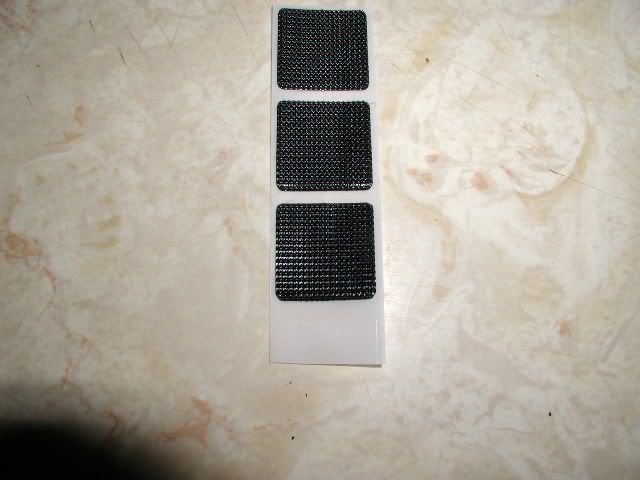
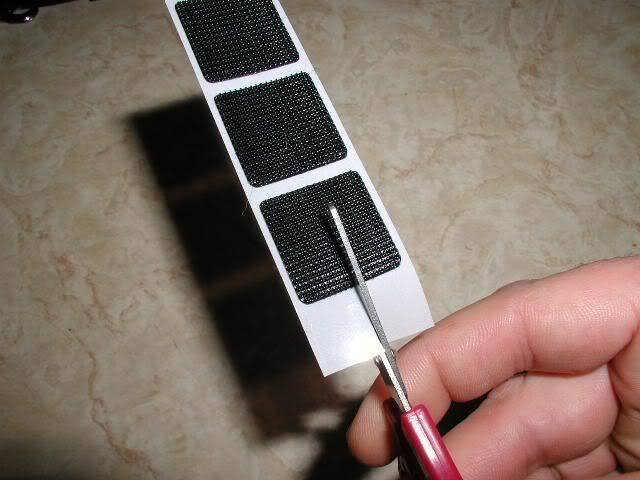
Determine where you would like to place the hook side of the hook and loop on the leash. I put it about two inches from the bottom of the handle end of the leash. Remove the white plastic to reveal the adhesive and press firmly adhering it to the leash. If you want to go above and beyond, you can also stitch it to the leash for extra durability.
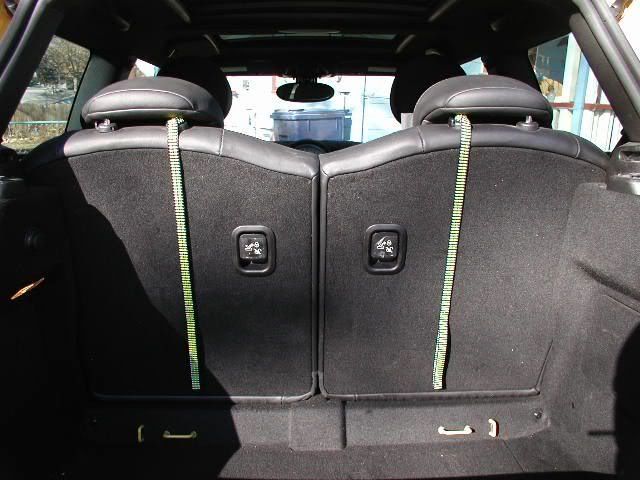
That's it, you're done!
If you want to get creative, by all means, do so.
While they are not "as professional" looking as the more expensive ones, the do suit the same purpose at a much, much lower cost.
Enjoy!